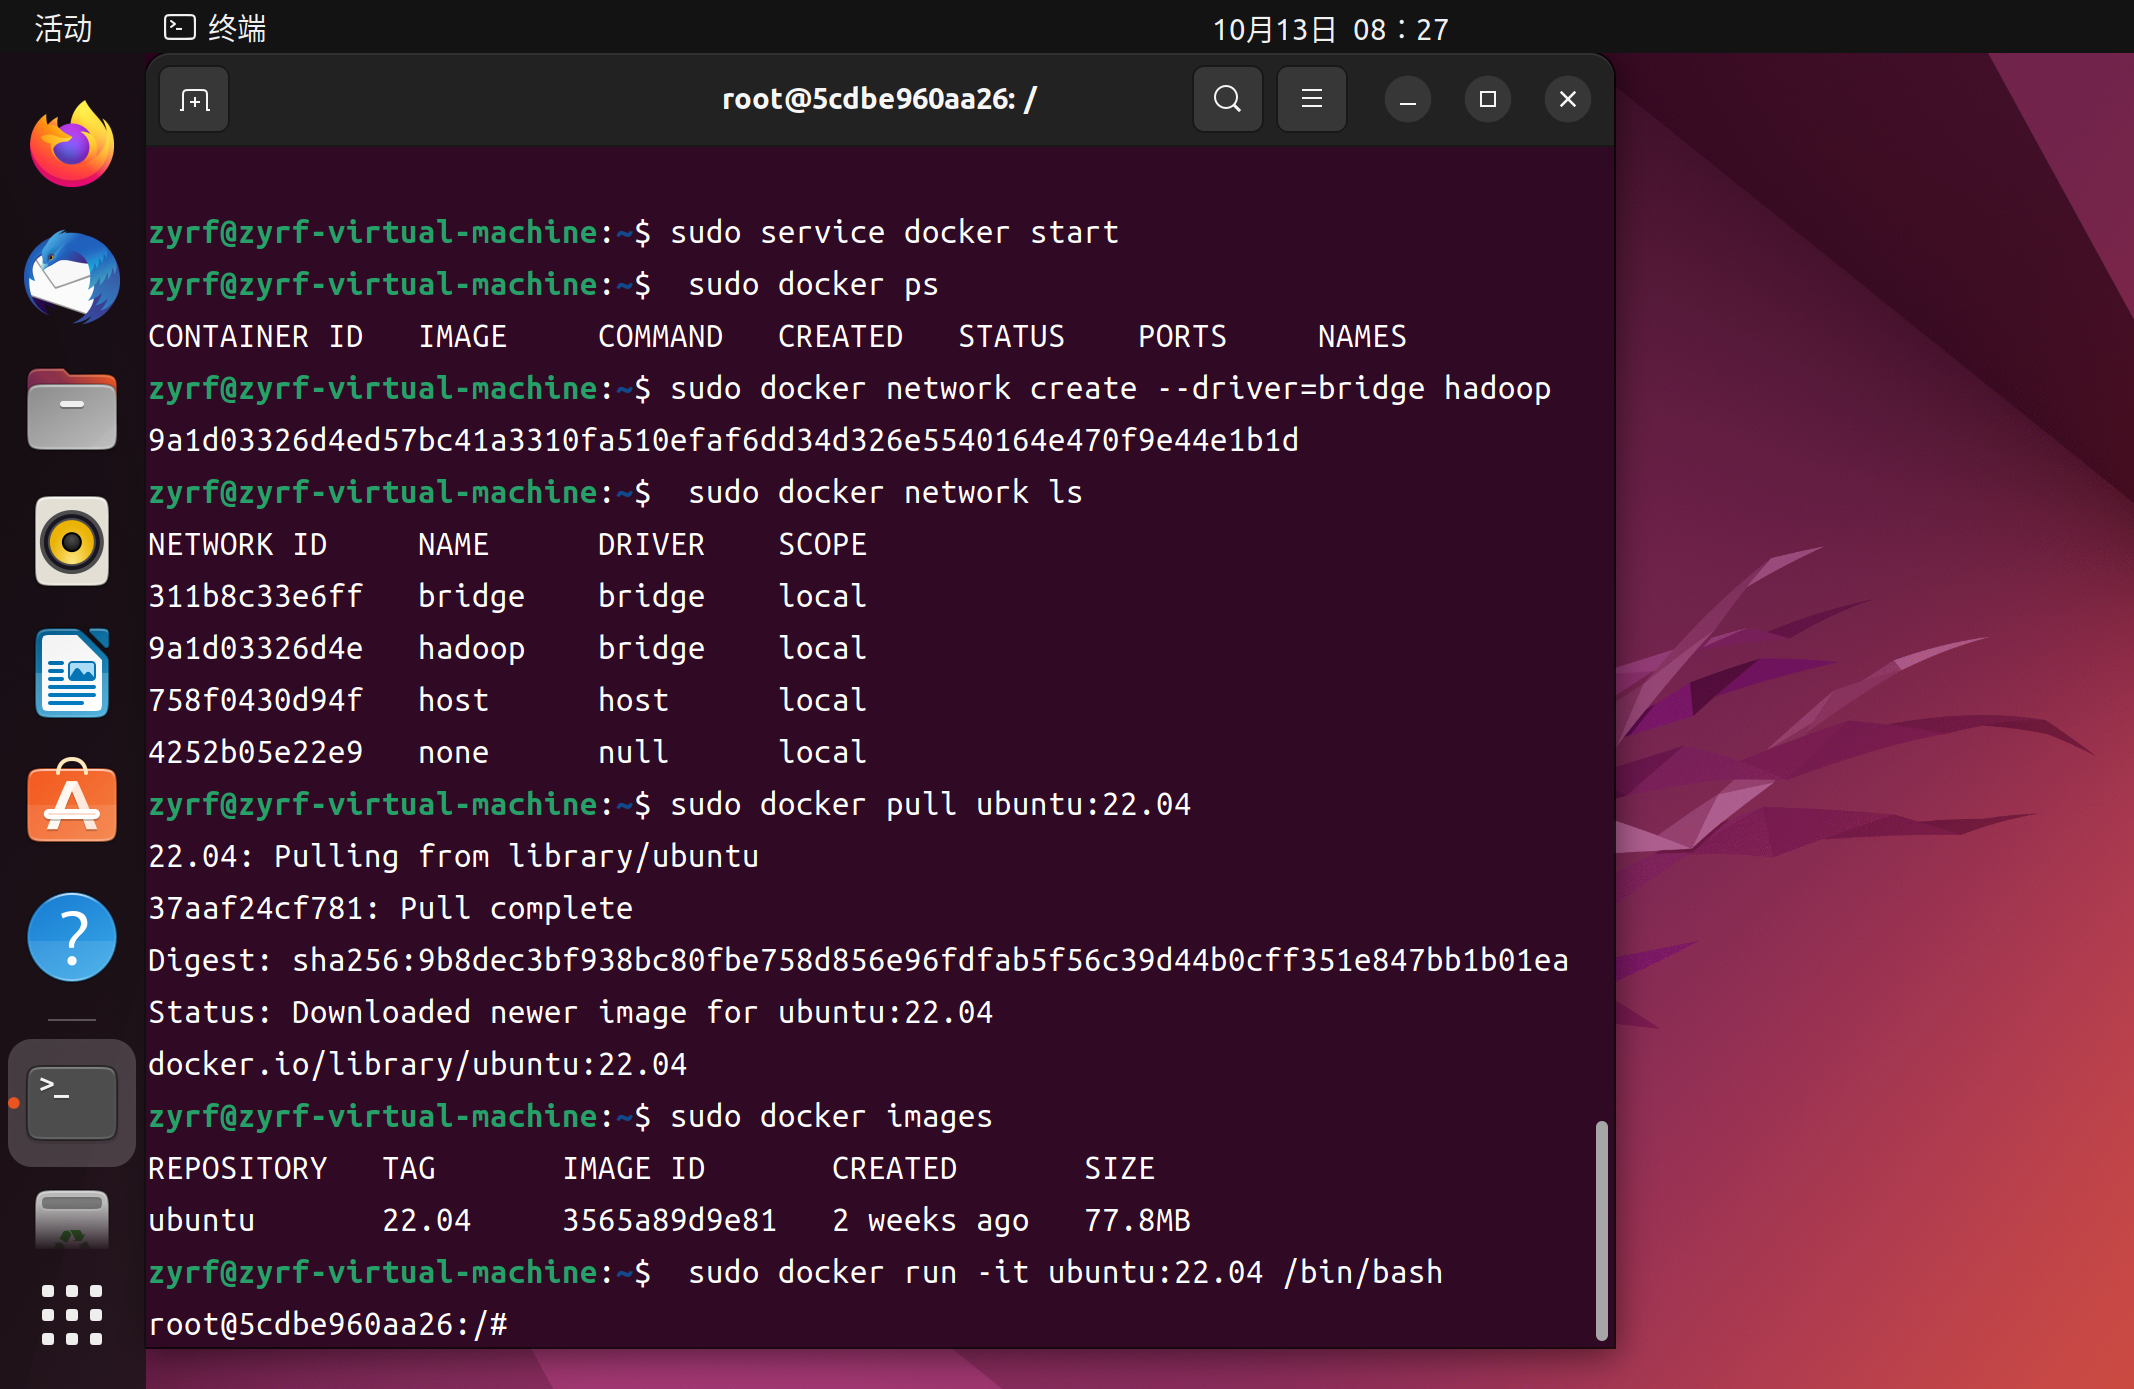
mike@ubuntu2204:~$ sudo docker network ls [sudo] password for mike: NETWORK ID NAME DRIVER SCOPE 3948edc3e8f3 bridge bridge local 337965dd9b1e hadoop bridge local cb8f2c453adc host host local fff4bd1c15ee mynet macvlan local 30e1132ad754 none null local mike@ubuntu2204:~$
mike@ubuntu2204:~$ sudo docker images [sudo] password for mike: REPOSITORY TAG IMAGE ID CREATED SIZE newuhadoop latest fe08b5527281 3 days ago 2.11GB ubuntu 22.04 27941809078c 6 weeks ago 77.8MB mike@ubuntu2204:~$
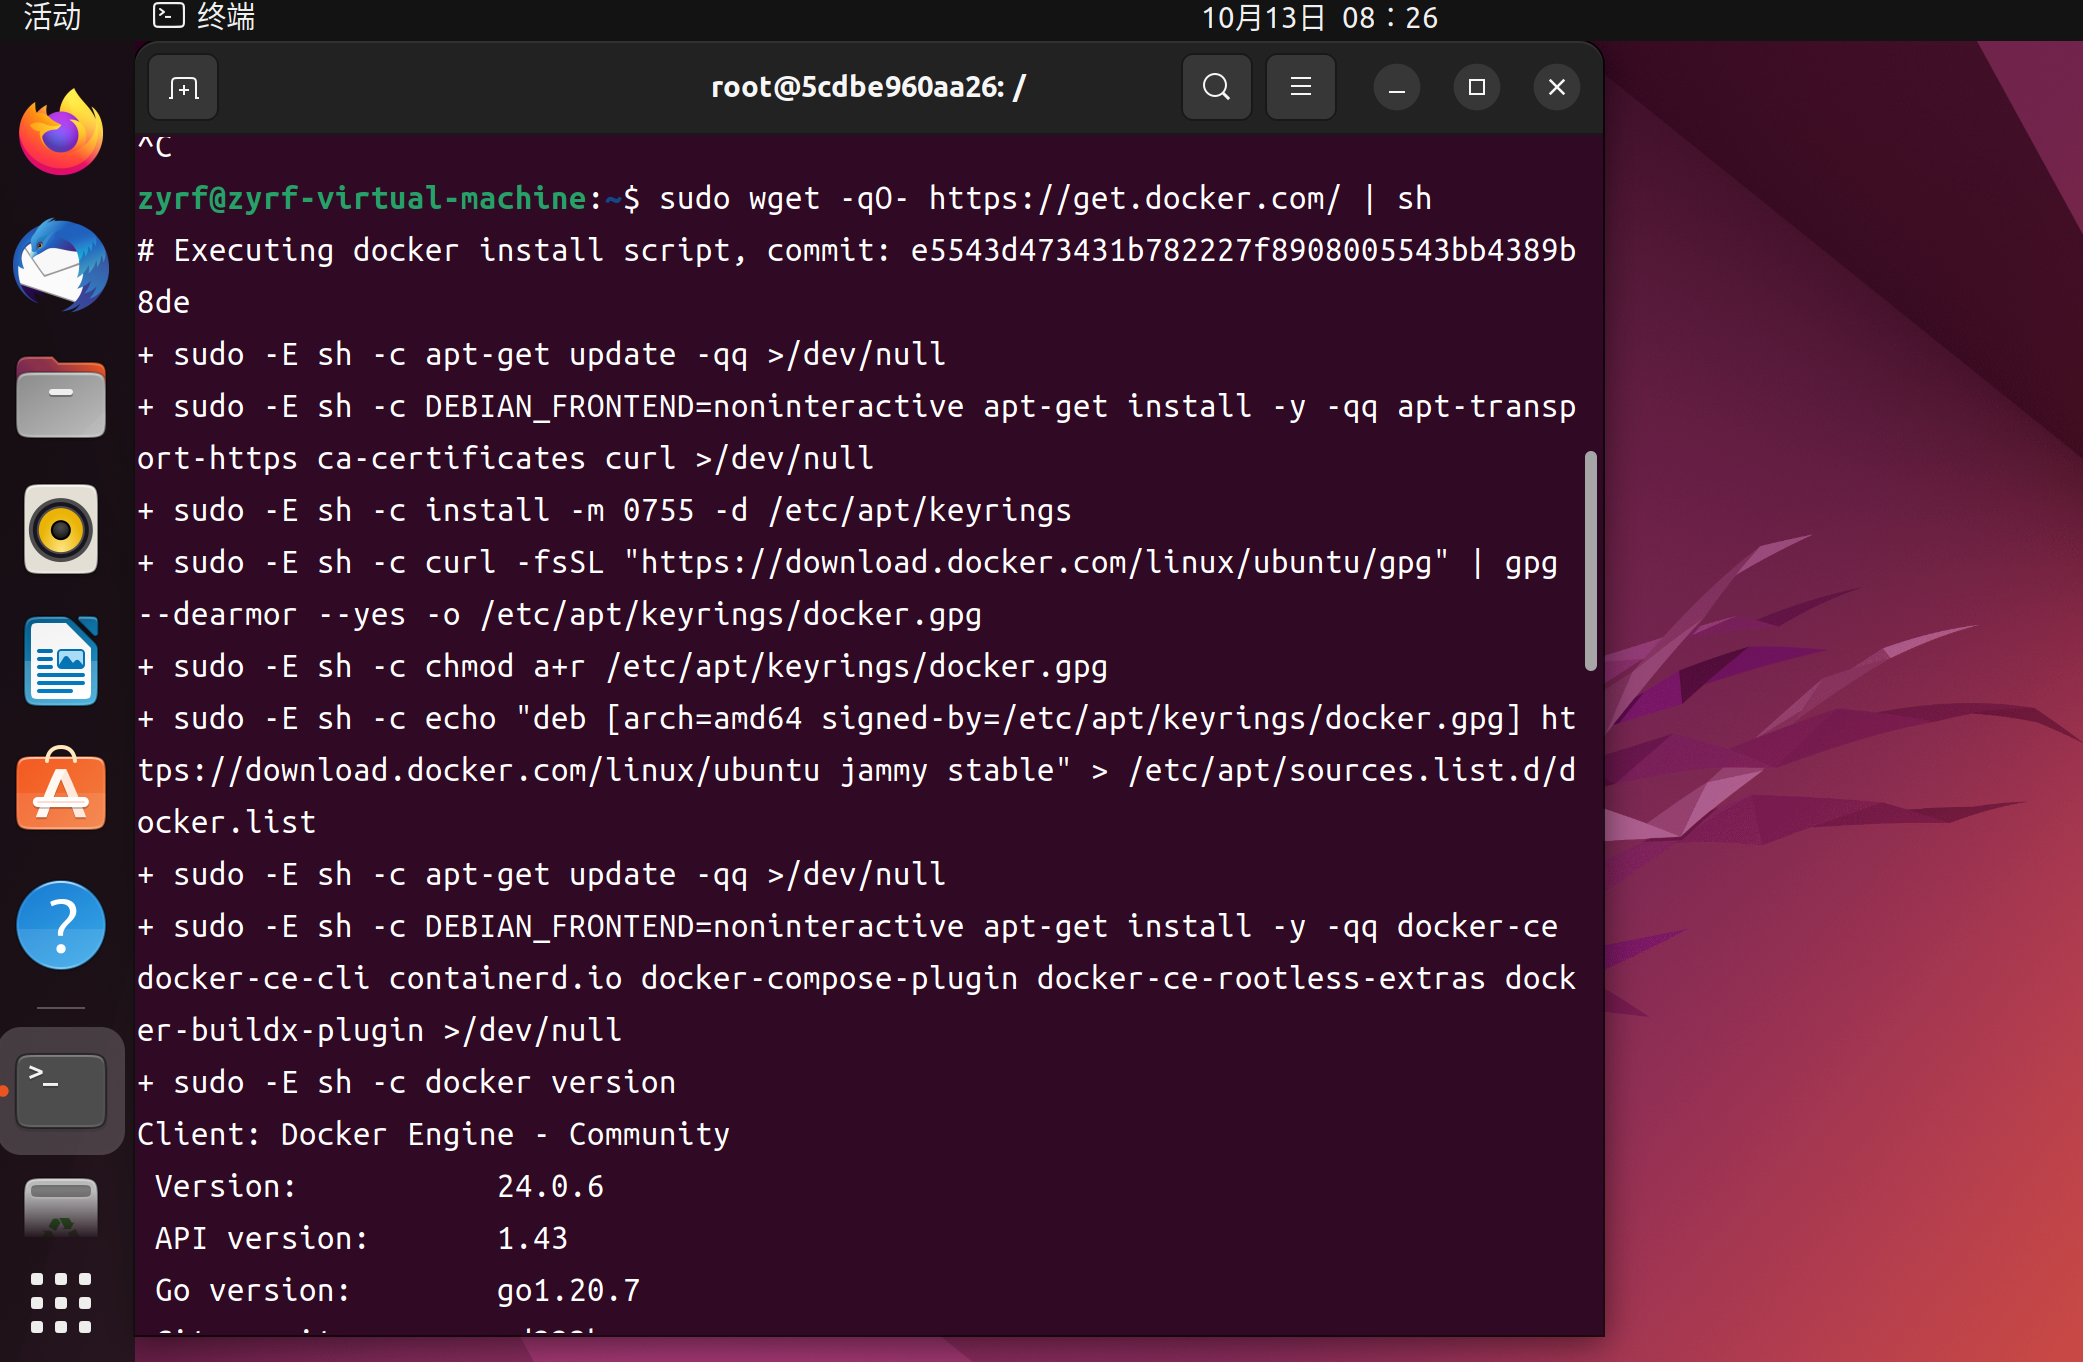
mike@ubuntu2204:~$ sudo docker run -it ubuntu:22.04 /bin/bash root@27941809078c:/#
输⼊ exit 可以退出容器,不过建议使⽤ Ctrl + P + Q ,退出容器状态,但仍让容器处于后台运⾏状态。
1
mike@ubuntu2204:~$
查看本机上所有的容器
1 2 3 4 5 6 7 8 9 10 11 12 13 14 15 16
mike@ubuntu2204:~$ sudo docker ps -a [sudo] password for mike: CONTAINER ID IMAGE COMMAND CREATED STATUS PORTS NAMES 8016da5278ae newuhadoop "/bin/bash" 3 days ago Up 2 days h05 409c7e8aa2e9 newuhadoop "/bin/bash" 3 days ago Up 2 days h04 0d8af236e1e7 newuhadoop "/bin/bash" 3 days ago Up 2 days h03 72d62b7d4874 newuhadoop "/bin/bash" 3 days ago Up 2 days h02 d4d3ca3bbb61 newuhadoop "/bin/bash" 3 days ago Up 2 days 0.0.0.0:8088- >8088/tcp, :::8088->8088/tcp, 0.0.0.0:9870->9870/tcp, :::9870->9870/tcp h01 mike@ubuntu2204:~$
root@27941809078c:/# java -version openjdk version "1.8.0_312" OpenJDK Runtime Environment (build 1.8.0_312-8u312-b07-0ubuntu1-b07) OpenJDK 64-Bit Server VM (build 25.312-b07, mixed mode) root@27941809078c:/#
接下来安装scala
1
root@27941809078c:/# apt install scala
测试⼀下安装结果
1 2 3 4 5
root@27941809078c:/# scala Welcome to Scala 2.11.12 (OpenJDK 64-Bit Server VM, Java 1.8.0_312). Type in expressions for evaluation. Or try :help. scala>
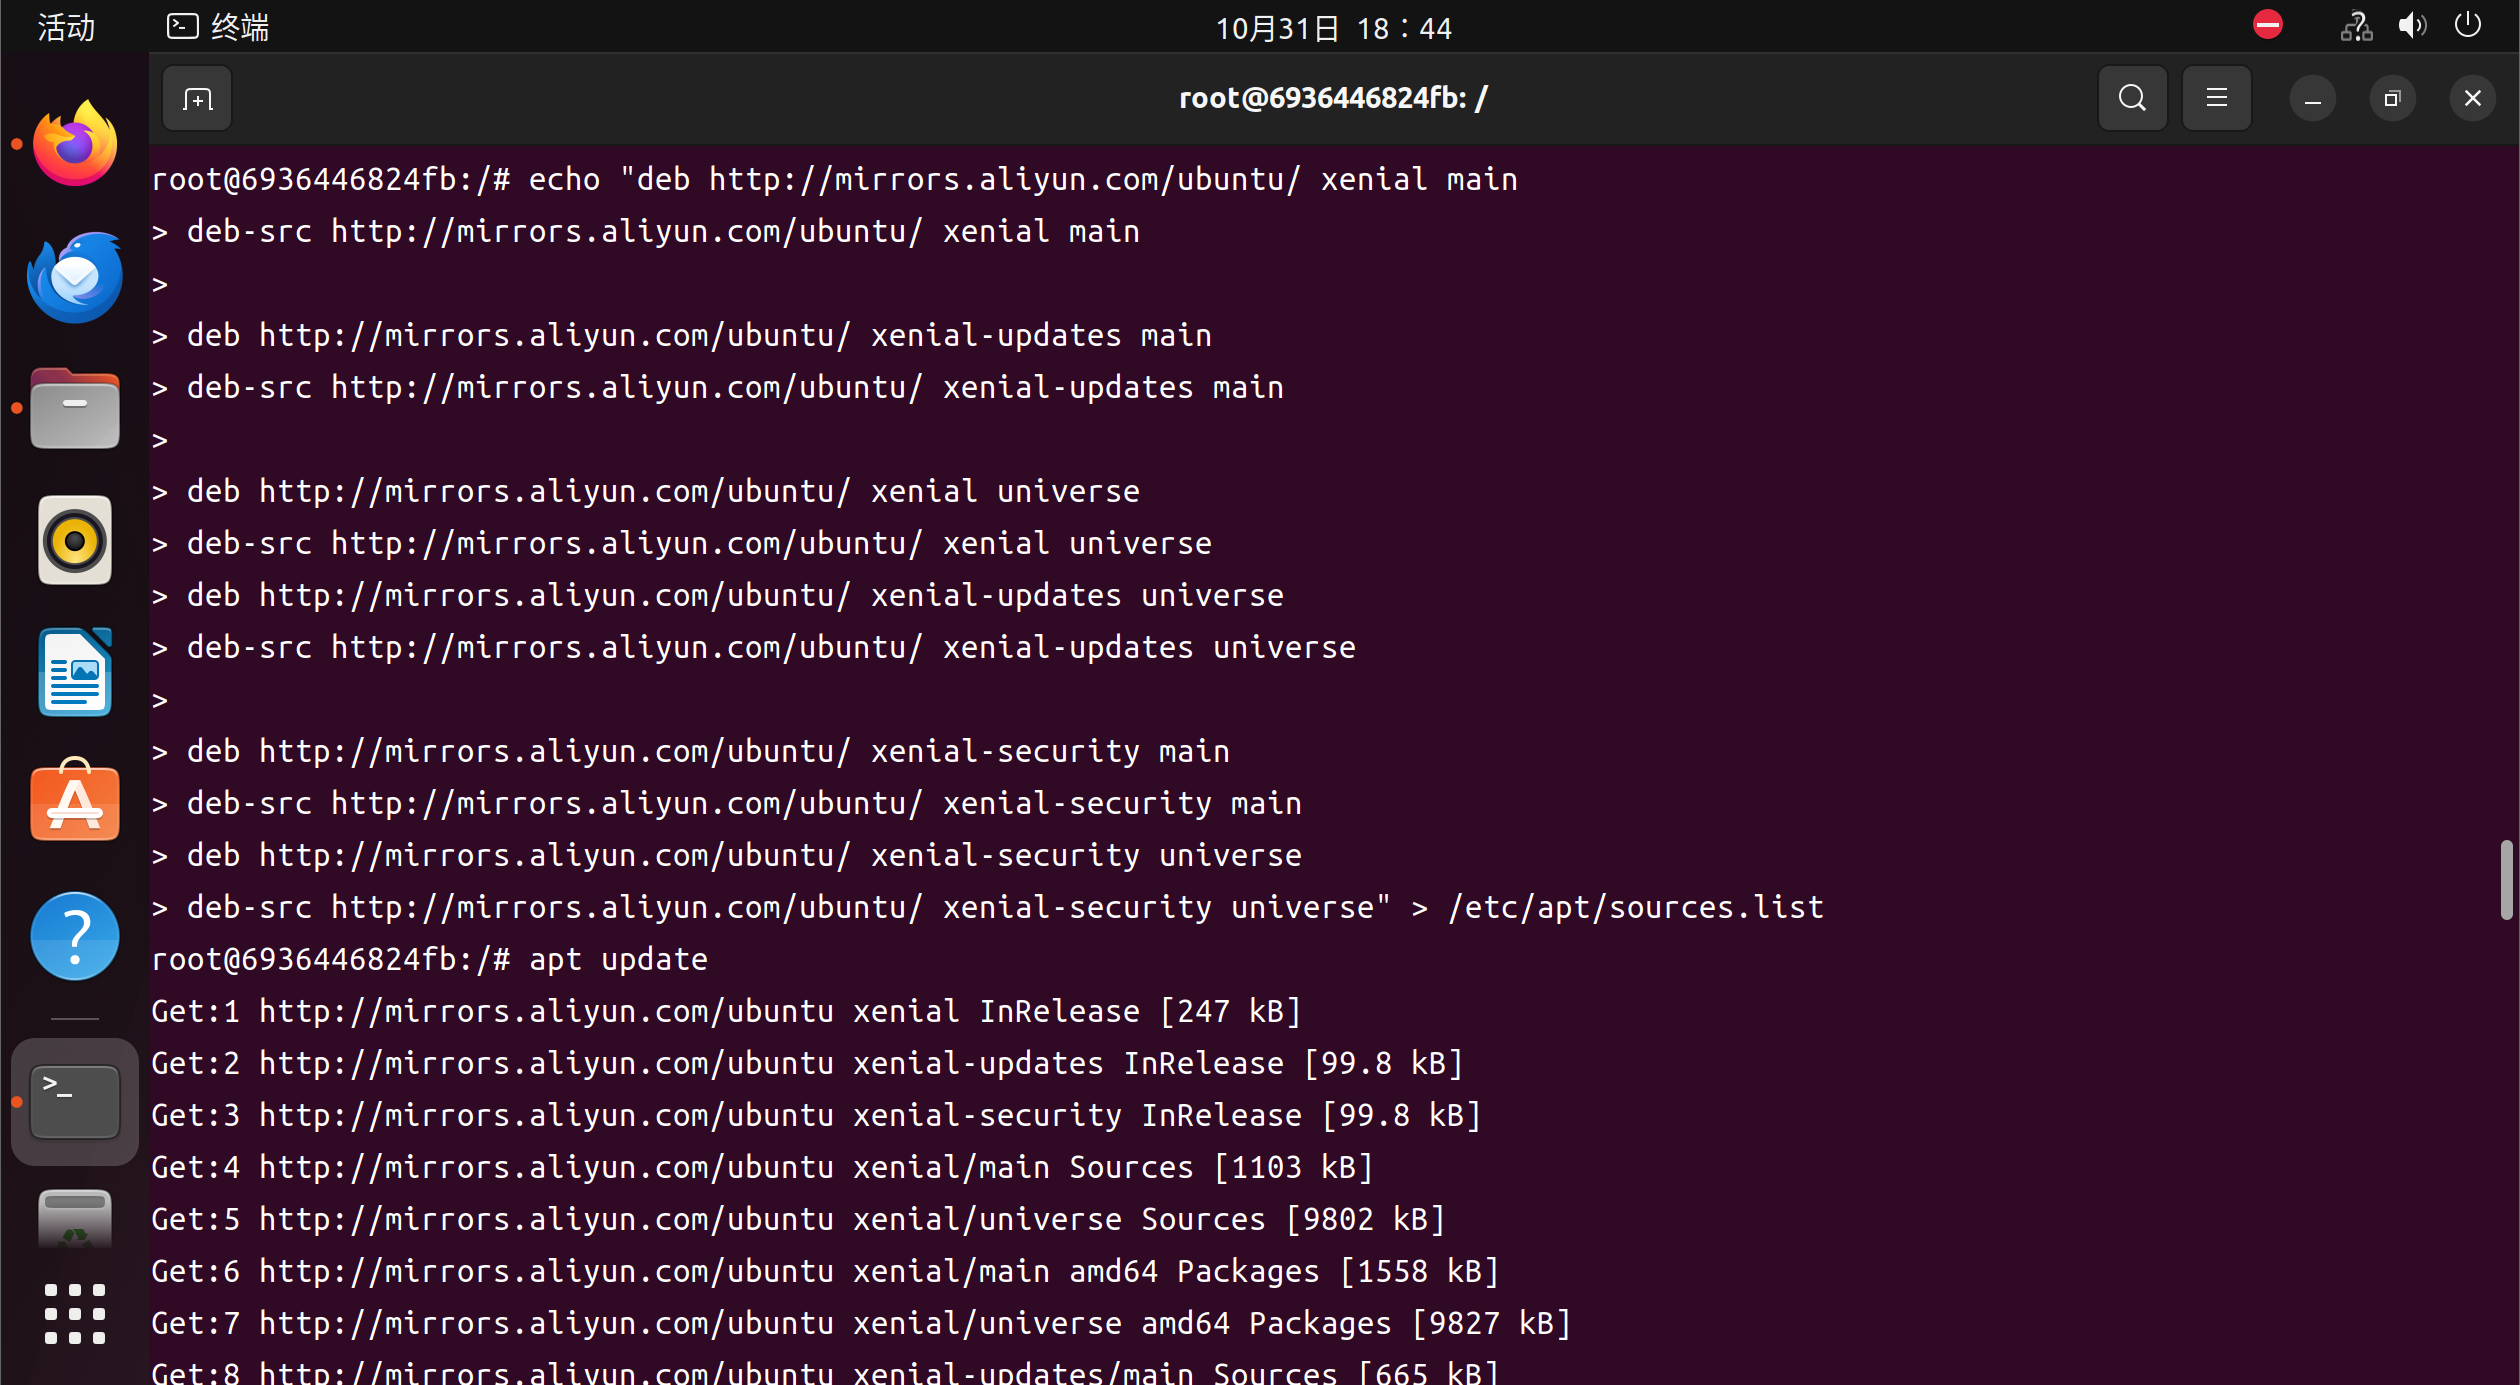
echo "deb http://mirrors.aliyun.com/ubuntu/ xenial main deb-src http://mirrors.aliyun.com/ubuntu/ xenial main
deb http://mirrors.aliyun.com/ubuntu/ xenial-updates main deb-src http://mirrors.aliyun.com/ubuntu/ xenial-updates main
deb http://mirrors.aliyun.com/ubuntu/ xenial universe deb-src http://mirrors.aliyun.com/ubuntu/ xenial universe deb http://mirrors.aliyun.com/ubuntu/ xenial-updates universe deb-src http://mirrors.aliyun.com/ubuntu/ xenial-updates universe
deb http://mirrors.aliyun.com/ubuntu/ xenial-security main deb-src http://mirrors.aliyun.com/ubuntu/ xenial-security main deb http://mirrors.aliyun.com/ubuntu/ xenial-security universe deb-src http://mirrors.aliyun.com/ubuntu/ xenial-security universe" > /etc/apt/sources.list
更新列表,更新包
1 2 3
apt update apt upgrade
安装jdk
1
apt install openjdk-8-jdk
检测java安装情况
1
java -version
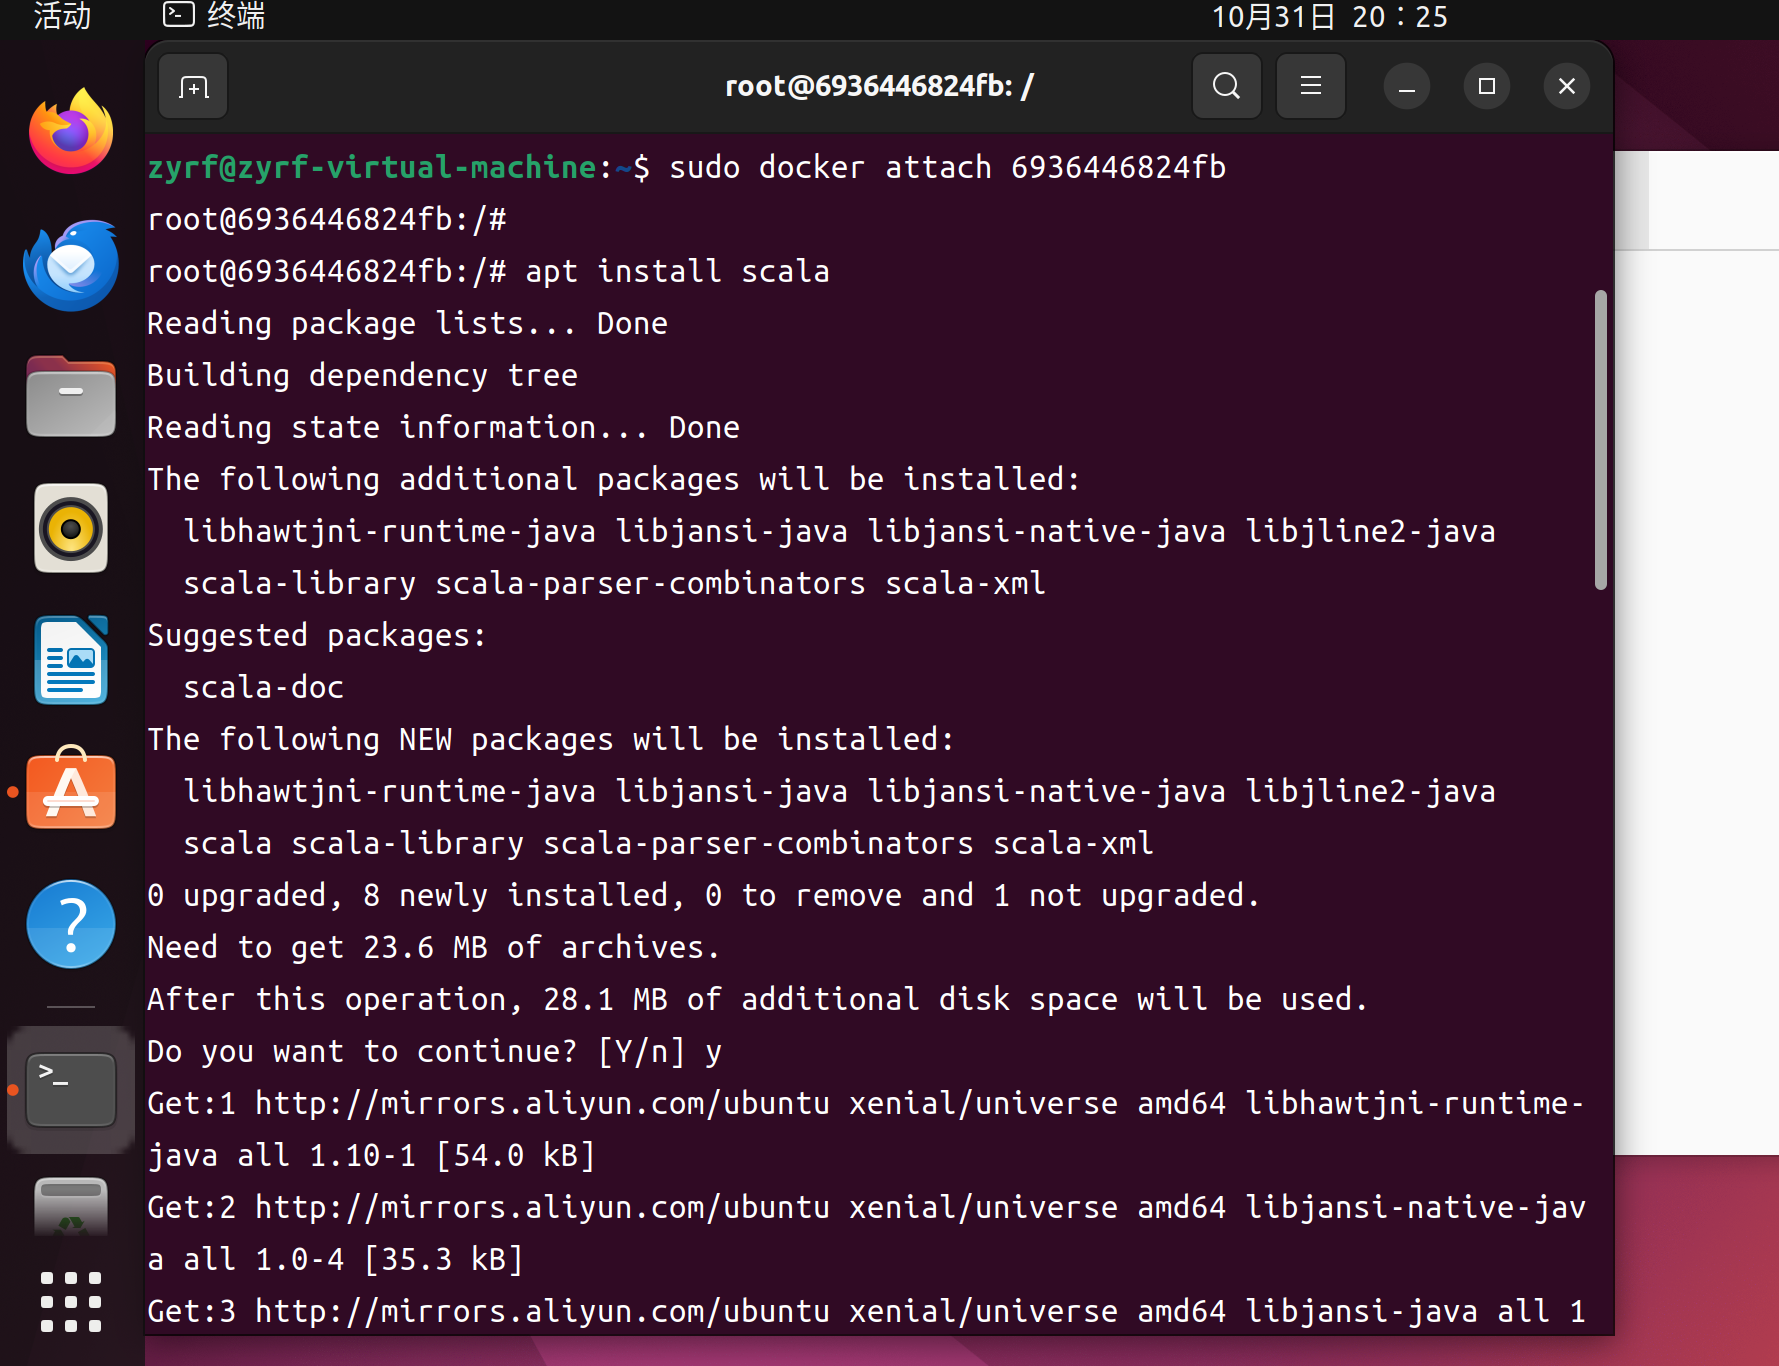
安装scala
1
apt install scala
测试scala安装情况
1
scala
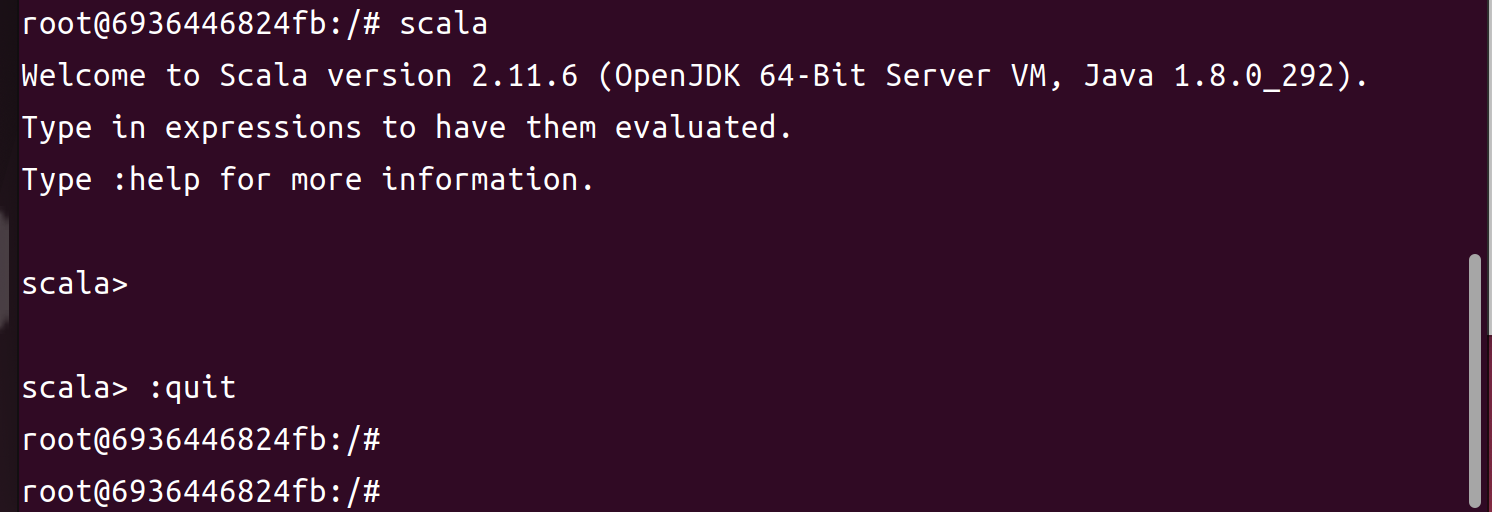
输入<:quit>退出
>
1
:quit
安装 Hadoop
在当前容器中将配置配好
导入出为镜像
以此镜像为基础创建五个容器,并赋予 hostname
进入 h01 容器,启动 Hadoop
安装 vim,用来编辑文件
1
apt install vim
安装 net-tools
1
apt install net-tools
安装 SSH
安装 SSH,并配置免密登录,由于后面的容器之间是由一个镜像启动的,就像同一个磨具出来的 5 把锁与钥匙,可以互相开锁。所以在当前容器里配置 SSH 自身免密登录就 OK 了。
安装 SSH
1
apt-get install openssh-server
安装 SSH 的客户端
1
apt-get install openssh-client
进入当前用户的用户根目录
1 2
root@6936446824fb:/# cd ~ root@6936446824fb:~#
生成密钥,不用输入,一直回车就行,生成的密钥在当前用户根目录下的 .ssh 文件夹中
以 . 开头的文件与文件夹 ls 是看不懂的,需要 ls -al 才能查看。
1
ssh-keygen -t rsa -P ""
将公钥追加到 authorized_keys 文件中
1 2
cat .ssh/id_rsa.pub >> .ssh/authorized_keys
启动 SSH 服务
1 2 3
root@6936446824fb:~# service ssh start * Starting OpenBSD Secure Shell server sshd [ OK ] root@6936446824fb:~#
免密登录自己
1
ssh 127.0.0.1
会出现提示root@6936446824fb:~# ssh 127.0.0.1 The authenticity of host '127.0.0.1 (127.0.0.1)' can't be established. ECDSA key fingerprint is SHA256:TNYlo/eEdFBPLAkGC9o6tGiOufO4S2zVfHRjD0xpW8Y. Are you sure you want to continue connecting (yes/no)? 输入yes即可
提示如下
1 2 3 4 5 6 7 8 9 10 11 12 13 14
Warning: Permanently added '127.0.0.1' (ECDSA) to the list of known hosts. Welcome to Ubuntu 16.04.7 LTS (GNU/Linux 6.2.0-36-generic x86_64)
The programs included with the Ubuntu system are free software; the exact distribution terms for each program are described in the individual files in /usr/share/doc/*/copyright.
Ubuntu comes with ABSOLUTELY NO WARRANTY, to the extent permitted by applicable law.
修改 .bashrc 文件,启动 shell 的时候,自动启动 SSH 服务
用 vim 打开 .bashrc 文件
1
vim ~/.bashrc
注意vim编辑器的使用方法,具体参照本篇vim的操作
按一下 i 键,使得 vim 进入插入模式,此时终端的左下角会显示为 – INSERT --,将光标移动到最后面,添加一行
1
service ssh start
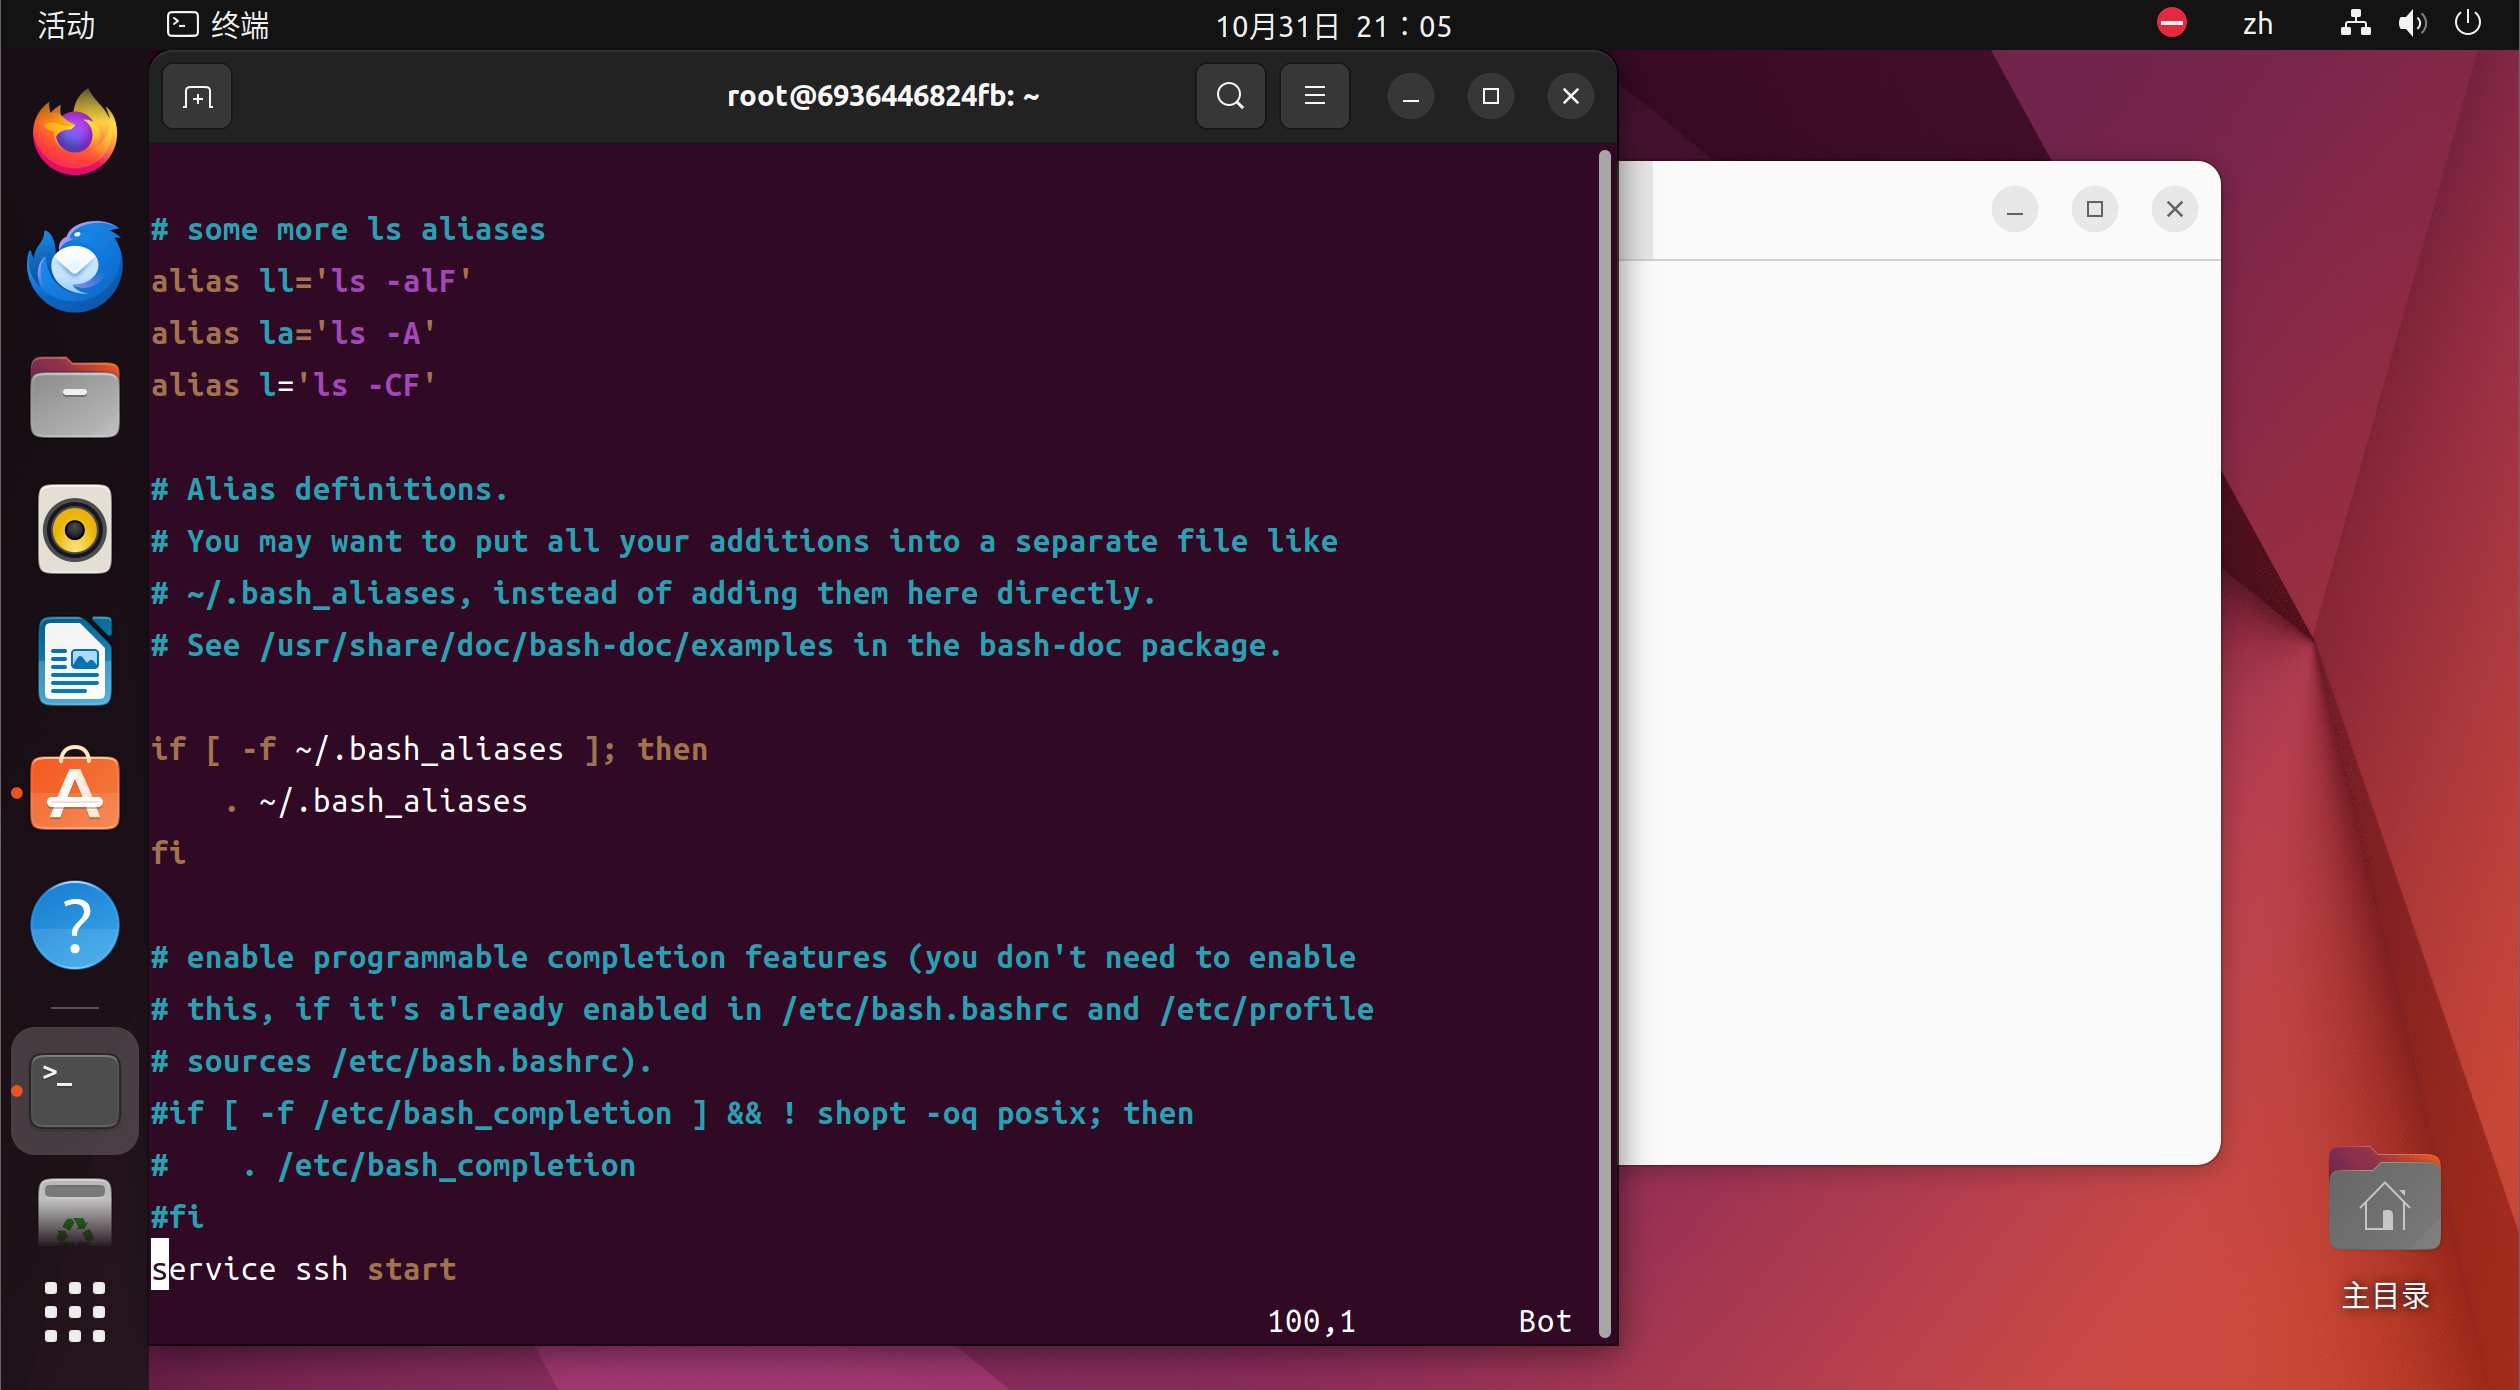
最后几行应该是这样的
1 2 3 4 5 6 7
# enable programmable completion features (you don't need to enable # this, if it's already enabled in /etc/bash.bashrc and /etc/profile # sources /etc/bash.bashrc). #if [ -f /etc/bash_completion ] && ! shopt -oq posix; then # . /etc/bash_completion #fi service ssh start
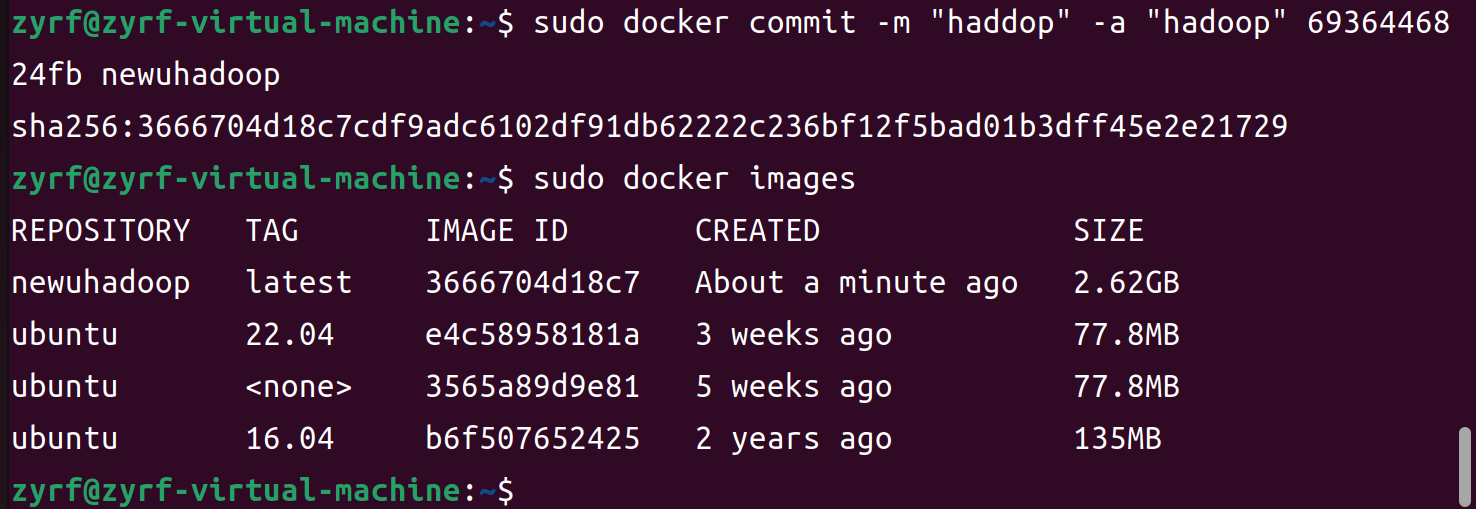
sudo docker commit -m "haddop" -a "hadoop" 6936446824fb newuhadoop
并查看当前镜像
1
sudo docker images
显示如下
1 2 3 4 5 6 7 8
zyrf@zyrf-virtual-machine:~$ sudo docker commit -m "haddop" -a "hadoop" 6936446824fb newuhadoop sha256:3666704d18c7cdf9adc6102df91db62222c236bf12f5bad01b3dff45e2e21729 zyrf@zyrf-virtual-machine:~$ sudo docker images REPOSITORY TAG IMAGE ID CREATED SIZE newuhadoop latest 3666704d18c7 About a minute ago 2.62GB ubuntu 22.04 e4c58958181a 3 weeks ago 77.8MB ubuntu <none> 3565a89d9e81 5 weeks ago 77.8MB ubuntu 16.04 b6f507652425 2 years ago 135MB
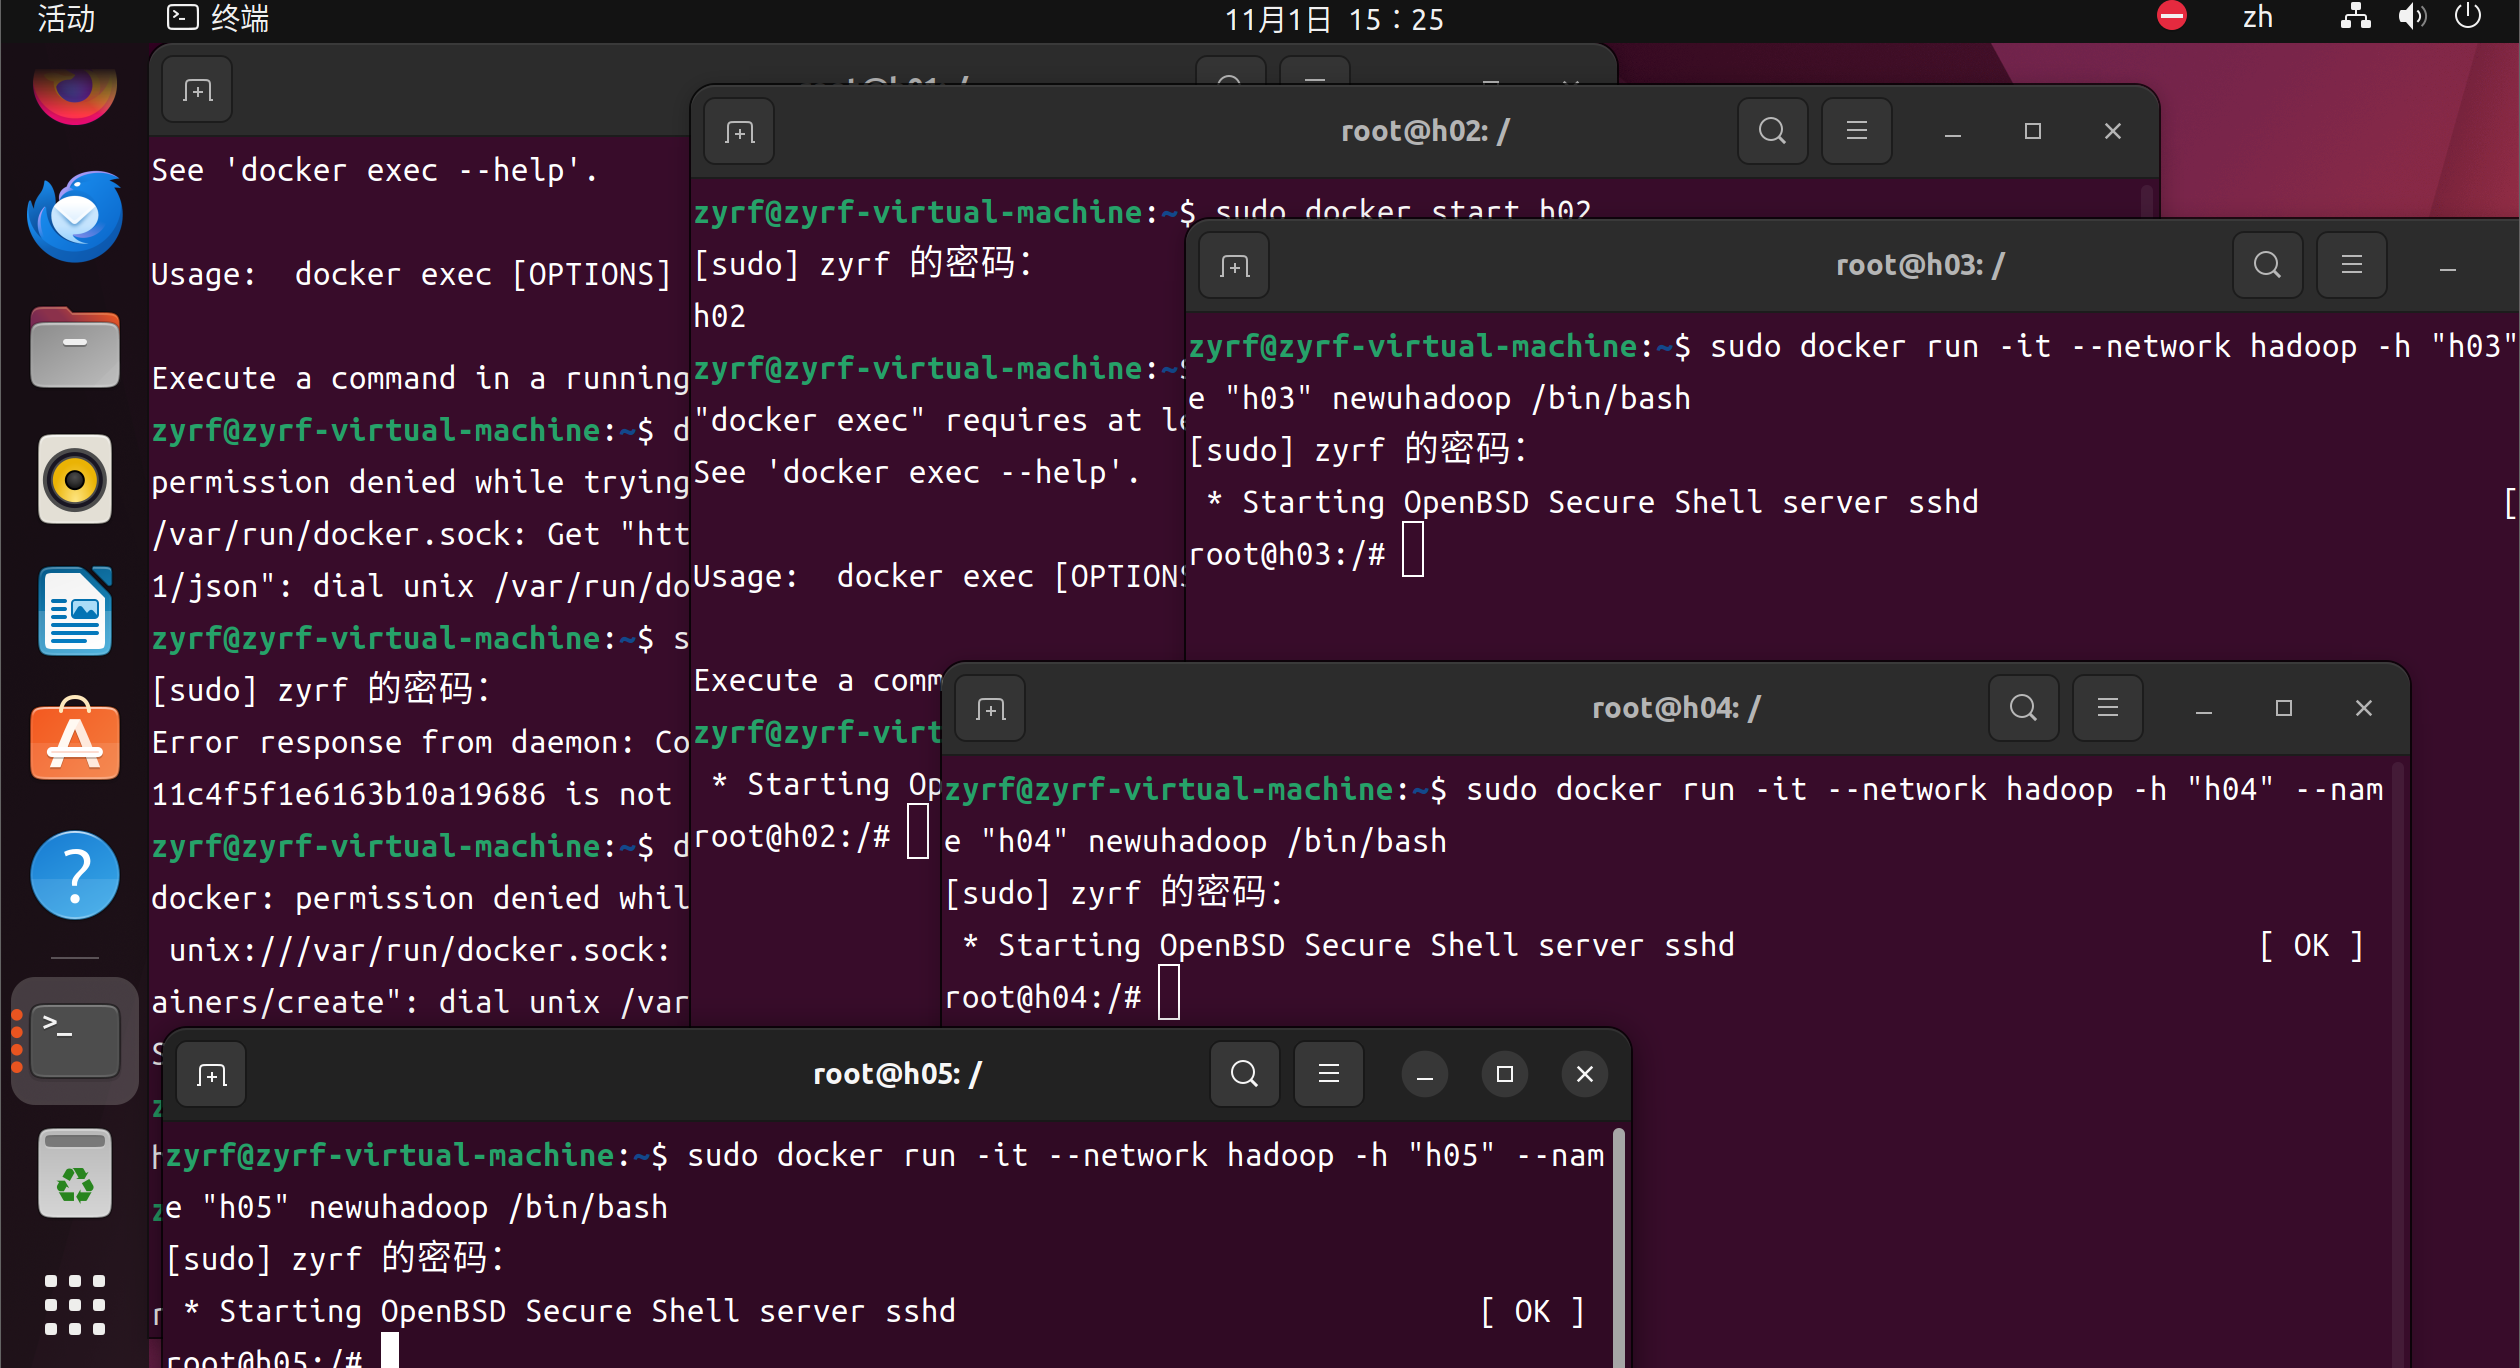
启动 5 个终端,分别执行这几个命令
第一条命令启动的是 h01 是做 master 节点的,所以暴露了端口,以供访问 web 页面
–network hadoop 参数是将当前容器加入到名为 hadoop 的虚拟桥接网络中,此网站提供自动的 DNS 解析功能
root@h01:/# cd /usr/local/hadoop/bin root@h01:/usr/local/hadoop/bin# root@h01:/usr/local/hadoop/bin# ./hadoop namenode -format
进入 hadoop 的 sbin 目录
1
2
root@h01:/# cd /usr/local/hadoop/sbin/ root@h01:/usr/local/hadoop/sbin#
启动
1
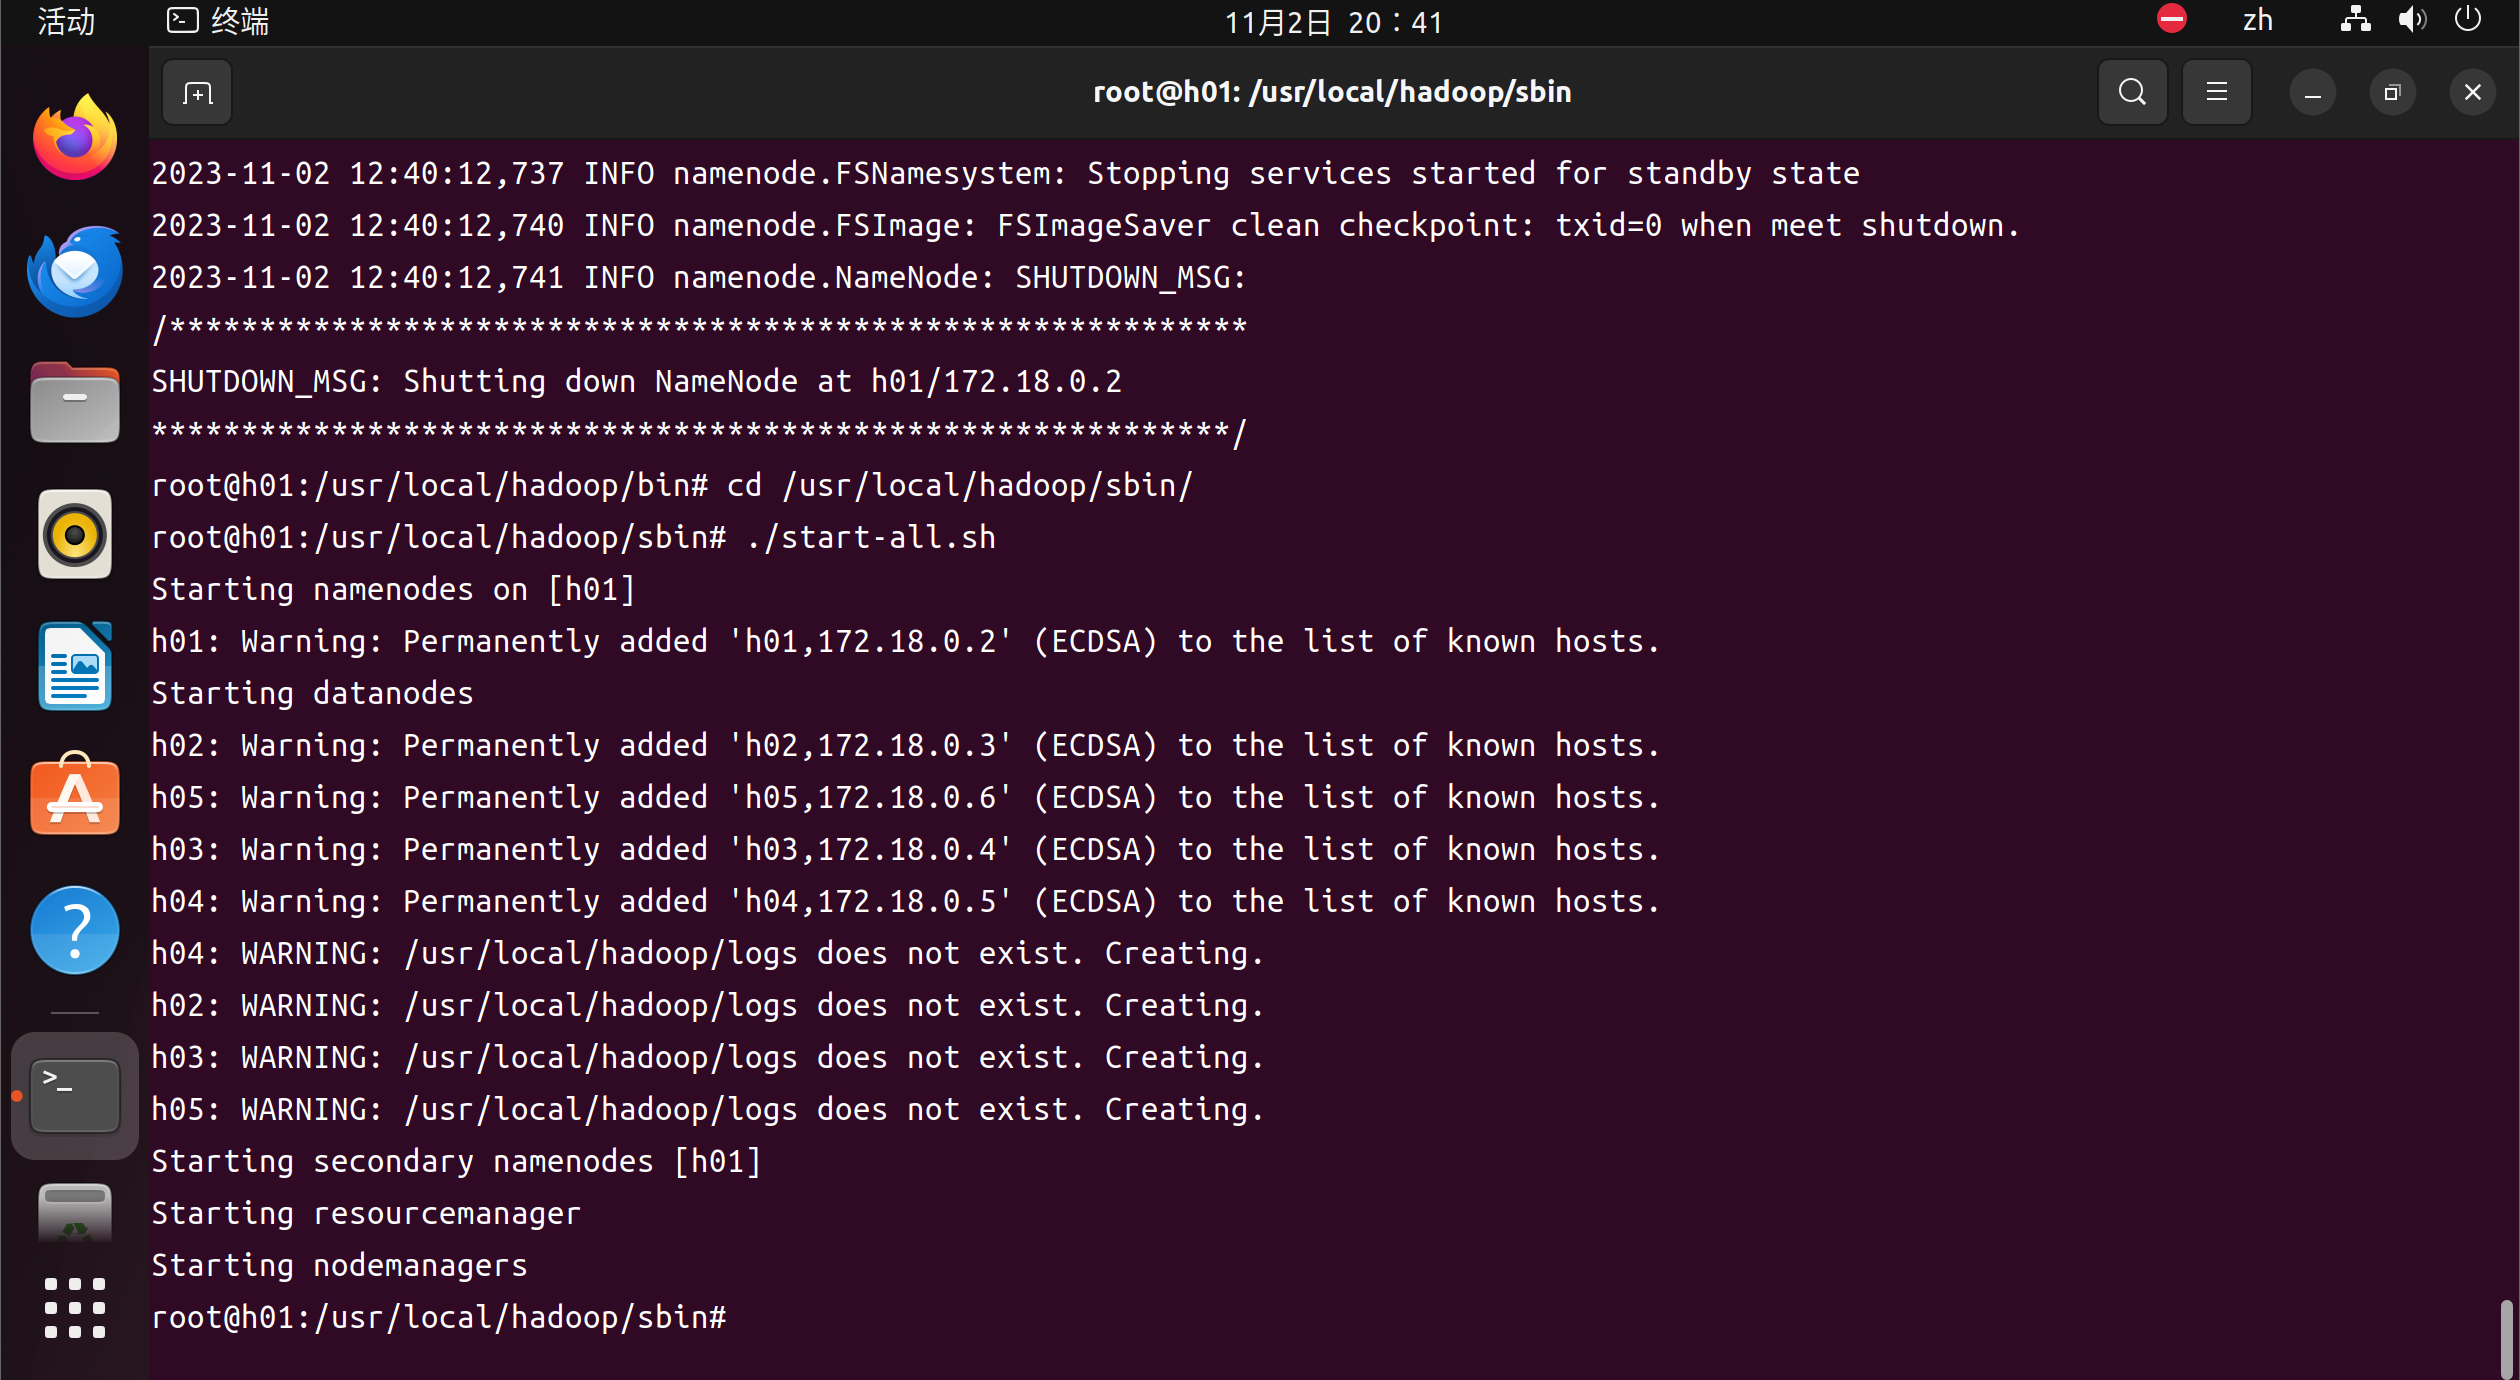
root@h01:/usr/local/hadoop/sbin# ./start-all.sh
1
2
3
4
5
6
7
8
9
10
11
12
13
14
15
16
root@h01:/usr/local/hadoop/sbin# ./start-all.sh Starting namenodes on [h01] h01: Warning: Permanently added 'h01,172.18.0.2' (ECDSA) to the list of known hosts. Starting datanodes h02: Warning: Permanently added 'h02,172.18.0.3' (ECDSA) to the list of known hosts. h05: Warning: Permanently added 'h05,172.18.0.6' (ECDSA) to the list of known hosts. h03: Warning: Permanently added 'h03,172.18.0.4' (ECDSA) to the list of known hosts. h04: Warning: Permanently added 'h04,172.18.0.5' (ECDSA) to the list of known hosts. h04: WARNING: /usr/local/hadoop/logs does not exist. Creating. h02: WARNING: /usr/local/hadoop/logs does not exist. Creating. h03: WARNING: /usr/local/hadoop/logs does not exist. Creating. h05: WARNING: /usr/local/hadoop/logs does not exist. Creating. Starting secondary namenodes [h01] Starting resourcemanager Starting nodemanagers root@h01:/usr/local/hadoop/sbin#
root@h01:/usr/local/hadoop/bin# cd /usr/local/hadoop/sbin/ root@h01:/usr/local/hadoop/sbin# ./start-all.sh Starting namenodes on [h01] h01: Warning: Permanently added 'h01,172.18.0.2' (ECDSA) to the list of known hosts. Starting datanodes h02: Warning: Permanently added 'h02,172.18.0.3' (ECDSA) to the list of known hosts. h05: Warning: Permanently added 'h05,172.18.0.6' (ECDSA) to the list of known hosts. h03: Warning: Permanently added 'h03,172.18.0.4' (ECDSA) to the list of known hosts. h04: Warning: Permanently added 'h04,172.18.0.5' (ECDSA) to the list of known hosts. h04: WARNING: /usr/local/hadoop/logs does not exist. Creating. h02: WARNING: /usr/local/hadoop/logs does not exist. Creating. h03: WARNING: /usr/local/hadoop/logs does not exist. Creating. h05: WARNING: /usr/local/hadoop/logs does not exist. Creating. Starting secondary namenodes [h01] Starting resourcemanager Starting nodemanagers root@h01:/usr/local/hadoop/sbin# ./hadoop dfsadmin -report bash: ./hadoop: No such file or directory root@h01:/usr/local/hadoop/sbin# cd /usr/local/hadoop/bin/ root@h01:/usr/local/hadoop/bin# ./hadoop dfsadmin -report WARNING: Use of this script to execute dfsadmin is deprecated. WARNING: Attempting to execute replacement "hdfs dfsadmin" instead.
root@h01:/usr/local/hadoop/bin# ./hadoop jar ../share/hadoop/mapreduce/hadoop-mapreduce-examples-3.3.3.jar wordcount /input /output 2023-11-02 13:32:18,936 INFO client.DefaultNoHARMFailoverProxyProvider: Connecting to ResourceManager at h01/172.18.0.2:8032 2023-11-02 13:32:19,203 INFO mapreduce.JobResourceUploader: Disabling Erasure Coding for path: /tmp/hadoop-yarn/staging/root/.staging/job_1698931074728_0001 2023-11-02 13:32:19,870 INFO input.FileInputFormat: Total input files to process : 1 2023-11-02 13:32:20,082 INFO mapreduce.JobSubmitter: number of splits:1 2023-11-02 13:32:20,177 INFO mapreduce.JobSubmitter: Submitting tokens for job: job_1698931074728_0001 2023-11-02 13:32:20,178 INFO mapreduce.JobSubmitter: Executing with tokens: [] 2023-11-02 13:32:20,325 INFO conf.Configuration: resource-types.xml not found 2023-11-02 13:32:20,326 INFO resource.ResourceUtils: Unable to find 'resource-types.xml'. 2023-11-02 13:32:20,728 INFO impl.YarnClientImpl: Submitted application application_1698931074728_0001 2023-11-02 13:32:20,758 INFO mapreduce.Job: The url to track the job: http://h01:8088/proxy/application_1698931074728_0001/ 2023-11-02 13:32:20,759 INFO mapreduce.Job: Running job: job_1698931074728_0001 2023-11-02 13:32:26,837 INFO mapreduce.Job: Job job_1698931074728_0001 running in uber mode : false 2023-11-02 13:32:26,838 INFO mapreduce.Job: map 0% reduce 0% 2023-11-02 13:32:30,902 INFO mapreduce.Job: map 100% reduce 0% 2023-11-02 13:32:35,949 INFO mapreduce.Job: map 100% reduce 100% 2023-11-02 13:32:35,961 INFO mapreduce.Job: Job job_1698931074728_0001 completed successfully 2023-11-02 13:32:36,047 INFO mapreduce.Job: Counters: 54 File System Counters FILE: Number of bytes read=12507 FILE: Number of bytes written=577461 FILE: Number of read operations=0 FILE: Number of large read operations=0 FILE: Number of write operations=0 HDFS: Number of bytes read=15313 HDFS: Number of bytes written=9894 HDFS: Number of read operations=8 HDFS: Number of large read operations=0 HDFS: Number of write operations=2 HDFS: Number of bytes read erasure-coded=0 Job Counters Launched map tasks=1 Launched reduce tasks=1 Data-local map tasks=1 Total time spent by all maps in occupied slots (ms)=2391 Total time spent by all reduces in occupied slots (ms)=1928 Total time spent by all map tasks (ms)=2391 Total time spent by all reduce tasks (ms)=1928 Total vcore-milliseconds taken by all map tasks=2391 Total vcore-milliseconds taken by all reduce tasks=1928 Total megabyte-milliseconds taken by all map tasks=2448384 Total megabyte-milliseconds taken by all reduce tasks=1974272 Map-Reduce Framework Map input records=270 Map output records=1672 Map output bytes=20756 Map output materialized bytes=12507 Input split bytes=96 Combine input records=1672 Combine output records=657 Reduce input groups=657 Reduce shuffle bytes=12507 Reduce input records=657 Reduce output records=657 Spilled Records=1314 Shuffled Maps =1 Failed Shuffles=0 Merged Map outputs=1 GC time elapsed (ms)=76 CPU time spent (ms)=1010 Physical memory (bytes) snapshot=557735936 Virtual memory (bytes) snapshot=5230510080 Total committed heap usage (bytes)=484442112 Peak Map Physical memory (bytes)=327278592 Peak Map Virtual memory (bytes)=2610937856 Peak Reduce Physical memory (bytes)=230457344 Peak Reduce Virtual memory (bytes)=2619572224 Shuffle Errors BAD_ID=0 CONNECTION=0 IO_ERROR=0 WRONG_LENGTH=0 WRONG_MAP=0 WRONG_REDUCE=0 File Input Format Counters Bytes Read=15217 File Output Format Counters Bytes Written=9894 root@h01:/usr/local/hadoop/bin#
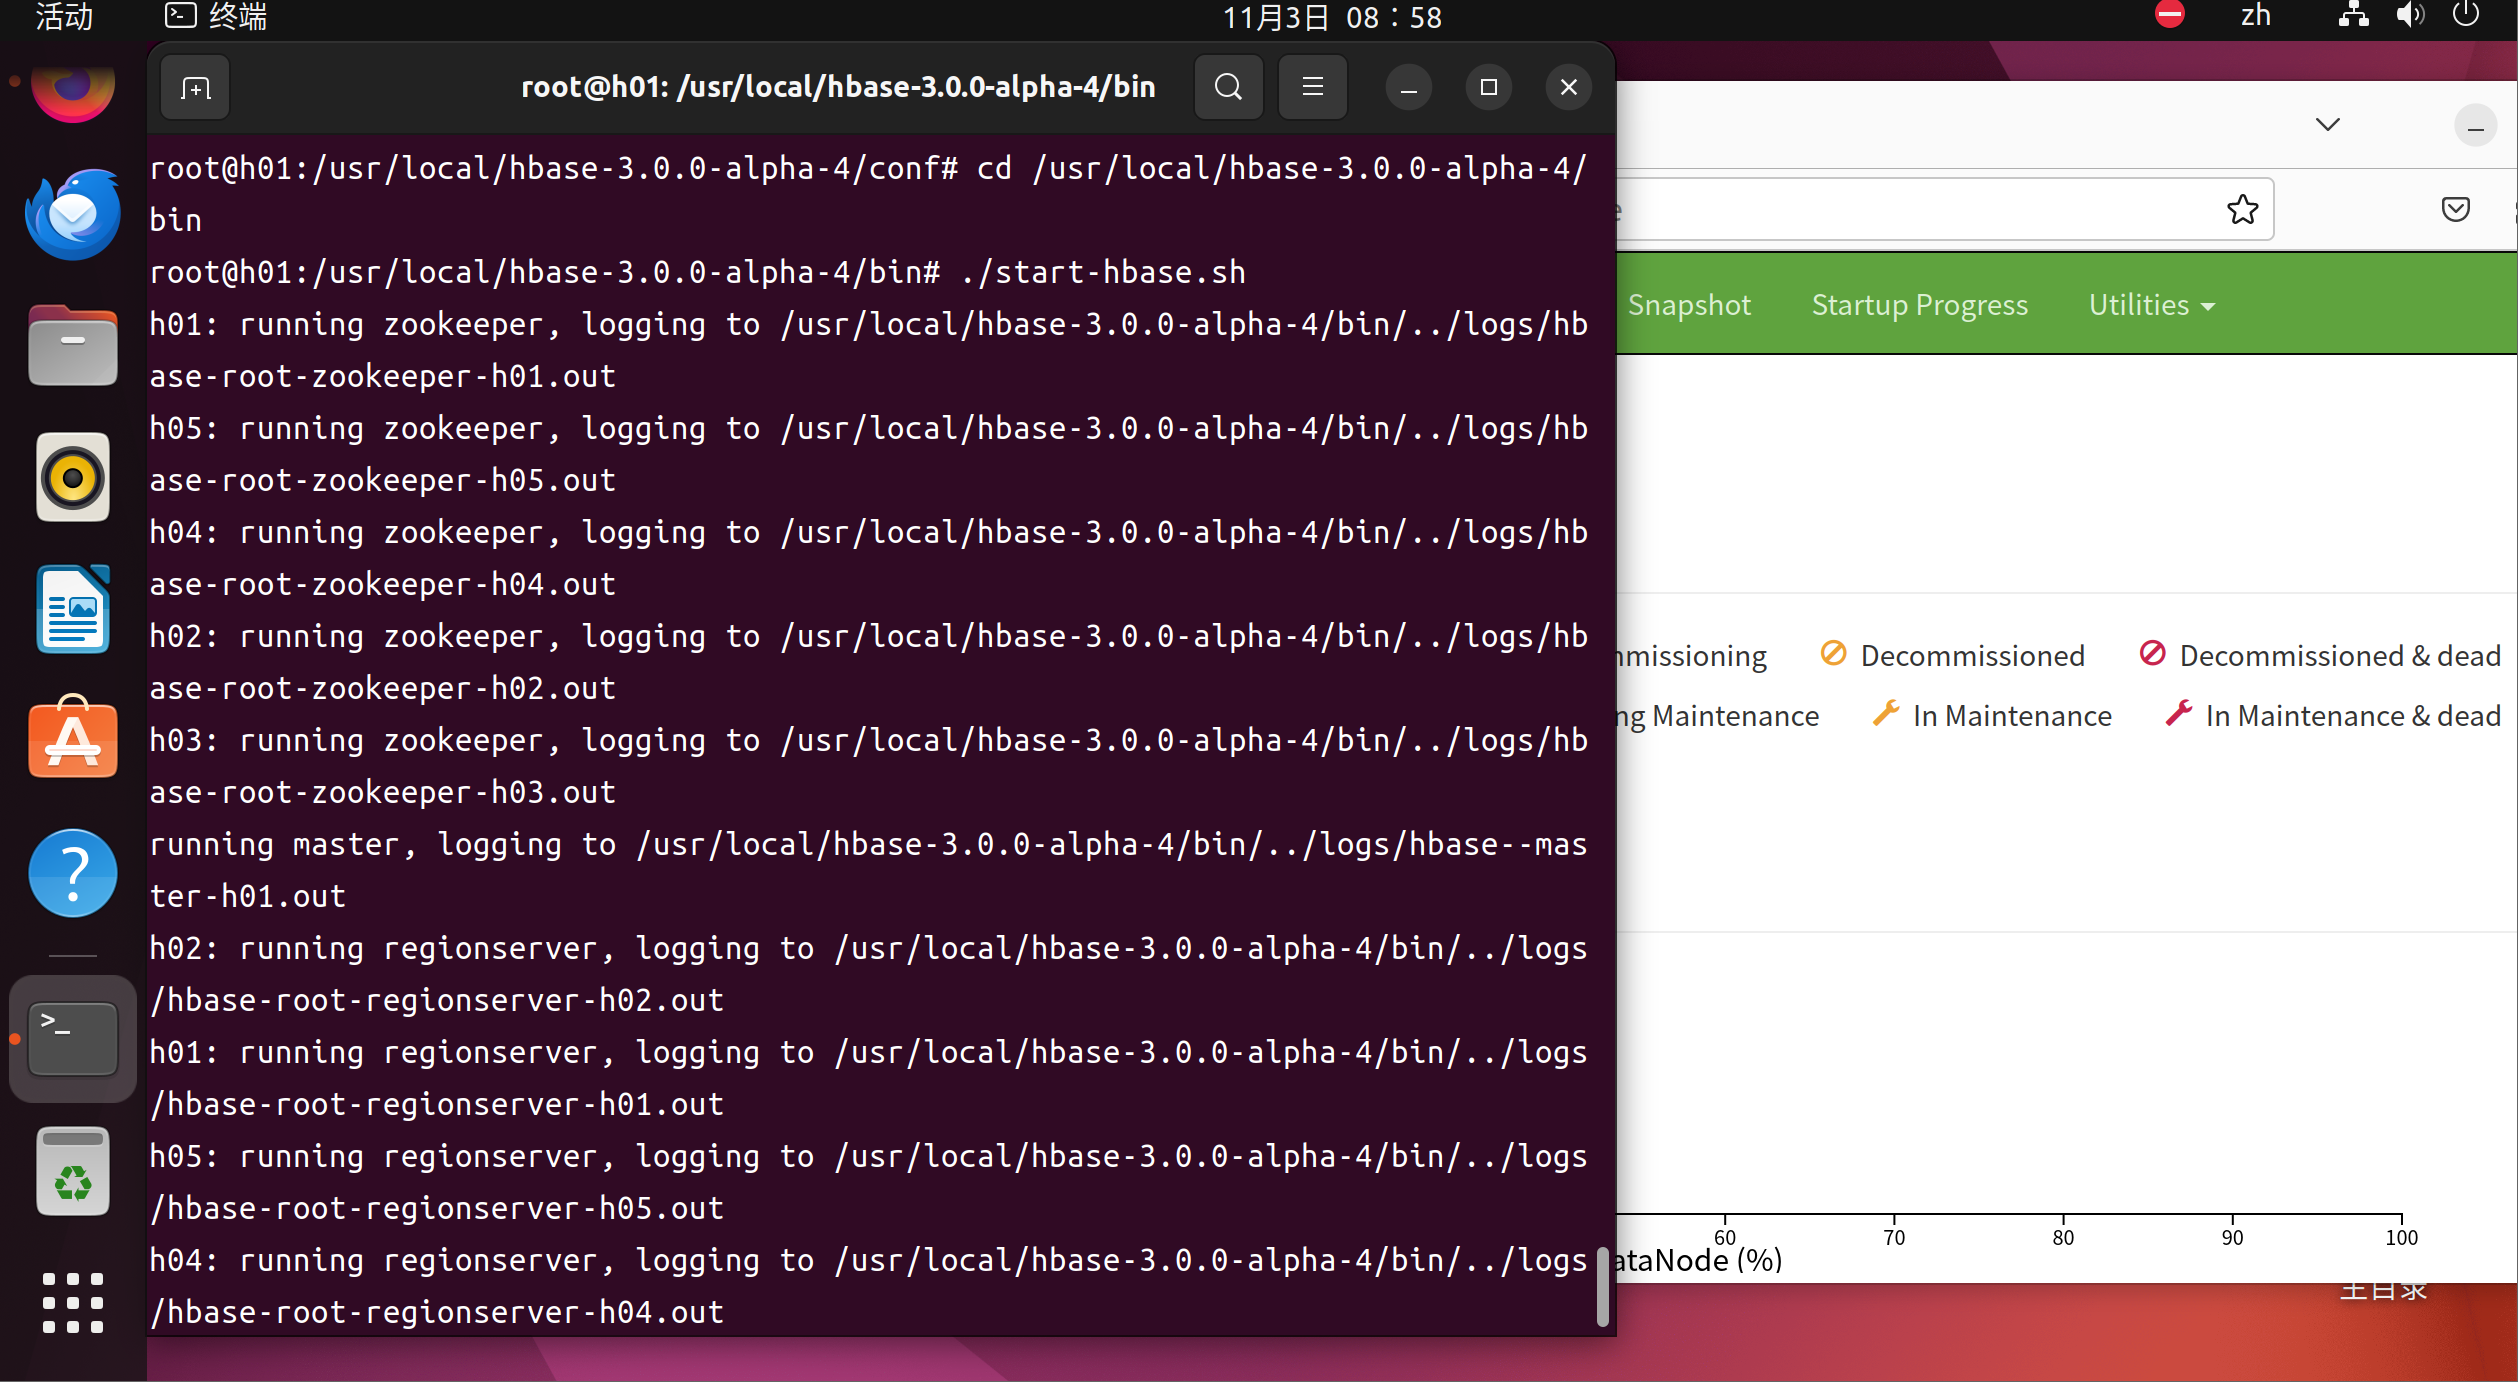
cd /usr/local/hbase-3.0.0-alpha-4/bin ./start-hbase.sh
1 2 3 4 5 6 7 8 9 10 11 12 13 14
root@h01:/usr/local/hbase-3.0.0-alpha-4/conf# cd /usr/local/hbase-3.0.0-alpha-4/bin root@h01:/usr/local/hbase-3.0.0-alpha-4/bin# ./start-hbase.sh h01: running zookeeper, logging to /usr/local/hbase-3.0.0-alpha-4/bin/../logs/hbase-root-zookeeper-h01.out h05: running zookeeper, logging to /usr/local/hbase-3.0.0-alpha-4/bin/../logs/hbase-root-zookeeper-h05.out h04: running zookeeper, logging to /usr/local/hbase-3.0.0-alpha-4/bin/../logs/hbase-root-zookeeper-h04.out h02: running zookeeper, logging to /usr/local/hbase-3.0.0-alpha-4/bin/../logs/hbase-root-zookeeper-h02.out h03: running zookeeper, logging to /usr/local/hbase-3.0.0-alpha-4/bin/../logs/hbase-root-zookeeper-h03.out running master, logging to /usr/local/hbase-3.0.0-alpha-4/bin/../logs/hbase--master-h01.out h02: running regionserver, logging to /usr/local/hbase-3.0.0-alpha-4/bin/../logs/hbase-root-regionserver-h02.out h01: running regionserver, logging to /usr/local/hbase-3.0.0-alpha-4/bin/../logs/hbase-root-regionserver-h01.out h05: running regionserver, logging to /usr/local/hbase-3.0.0-alpha-4/bin/../logs/hbase-root-regionserver-h05.out h04: running regionserver, logging to /usr/local/hbase-3.0.0-alpha-4/bin/../logs/hbase-root-regionserver-h04.out h03: running regionserver, logging to /usr/local/hbase-3.0.0-alpha-4/bin/../logs/hbase-root-regionserver-h03.out root@h01:/usr/local/hbase-3.0.0-alpha-4/bin#
打开 Hbase 的 shell
1
./hbase shell
1 2 3 4 5 6 7 8
root@h01:/usr/local/hbase-3.0.0-alpha-4/bin# ./hbase shell HBase Shell Use "help" to get list of supported commands. Use "exit" to quit this interactive shell. For Reference, please visit: http://hbase.apache.org/book.html#shell Version 3.0.0-alpha-4, re44cc02c75ecae7ece845f04722eb16b7528393f, Sat May 27 16:02:34 UTC 2023 Took 0.0014 seconds hbase:001:0>
hbase测试
创建表member
1
create 'member','id','address','info'
1 2 3 4 5 6
hbase:001:0> create 'member','id','address','info' Created table member Took 3.0668 seconds => Hbase::Table - member hbase:002:0>
添加数据,并查看表中数据
1
put 'member', 'debugo','id','11'
1 2 3
hbase:002:0> put 'member', 'debugo','id','11' Took 0.3332 seconds hbase:003:0>
1
put 'member', 'debugo','info:age','27'
1 2 3 4
hbase:003:0>  put 'member', 'debugo','info:age','27'
Took 0.0249 seconds
hbase:004:0>


 wechat
 Alipay